To test an ignition coil, use a multimeter to check for primary and secondary resistance. Ensuring your ignition coil is functioning optimally is crucial for the overall performance of your vehicle.
A faulty ignition coil can lead to issues like misfiring, rough idling, and poor fuel efficiency. By conducting regular tests on your ignition coil, you can identify any potential problems early on and address them before they escalate. In this blog post, we will discuss the step-by-step process of how to test an ignition coil.
Contents
Ignition Coil Testing
An ignition coil is a crucial component of a vehicle’s ignition system. It plays a pivotal role in converting low voltage from the battery into the high voltage needed to ignite the fuel and start the engine. To ensure optimal performance and prevent potential breakdowns, testing the ignition coil is essential. This process helps identify any underlying issues, allowing for timely repairs or replacements.
Why Testing Matters
Testing the ignition coil is crucial for maintaining the overall health and performance of a vehicle. By conducting regular tests, potential issues can be identified early, preventing more extensive damage and costly repairs. Additionally, proper testing can help ensure that the ignition coil is functioning at its optimal capacity, contributing to efficient fuel combustion and overall engine performance.
Faulty Ignition Coil Symptoms
Recognizing the signs of a faulty ignition coil is essential for timely intervention. Common symptoms include misfiring, rough idling, difficulty starting the engine, reduced fuel efficiency, and illuminated check engine light. These indicators can point towards potential issues with the ignition coil, prompting the need for thorough testing to pinpoint the exact cause of the problem.
Preparation For Testing
It’s important to gather the necessary tools and take the necessary precautions to ensure your safety. By following the steps outlined below, you’ll be well-prepared and ready to proceed with confidence.
Tools You’ll Need
To effectively test an ignition coil, you’ll need the following tools:
- Multimeter: This device measures electrical voltage, resistance, and current. It is essential for testing the performance of the ignition coil.
- Screwdriver: A screwdriver is needed to remove the ignition coil from the engine.
- Insulated gloves: Wearing insulated gloves will protect you from electrical shocks during the testing process.
- Safety goggles: Safety goggles provide eye protection from any potential sparks or debris that may occur during the testing.
Safety First: Precautions To Take
Before you begin testing the ignition coil, it’s crucial to take the necessary safety precautions. Follow these steps to ensure your safety:
- Disconnect the battery: Start by disconnecting the negative terminal of the battery to prevent any electrical shocks or accidents.
- Allow the engine to cool: Give the engine enough time to cool down before proceeding with the testing. This will prevent any burns or injuries.
- Wear protective gear: Put on your insulated gloves and safety goggles to protect yourself from any potential electrical hazards or debris.
- Follow manufacturer instructions: Always refer to the manufacturer’s instructions for your specific vehicle model to ensure you follow the correct procedure for testing the ignition coil.
How to Test an Ignition Coil
Here are step by step guide to test an ignition coil –
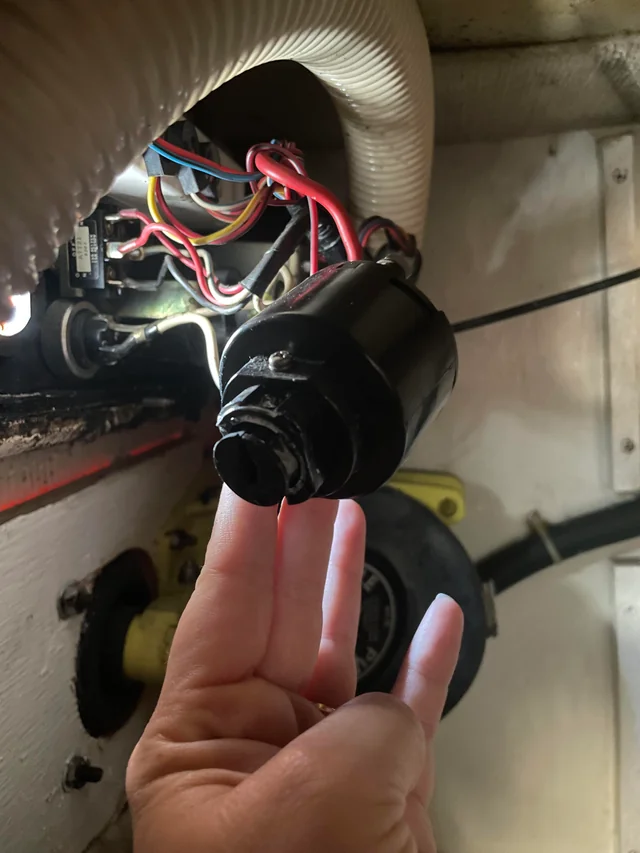
1. Visual Inspection
Inspect the ignition coil for any signs of physical damage or wear.
2. Resistance Test
Use a multimeter to measure the resistance of the ignition coil.
3. Spark Test
Perform a spark test to check if the ignition coil is producing spark.
4. Analyzing Results
Analyze the visual, resistance, and spark test results to determine the health of the ignition coil.
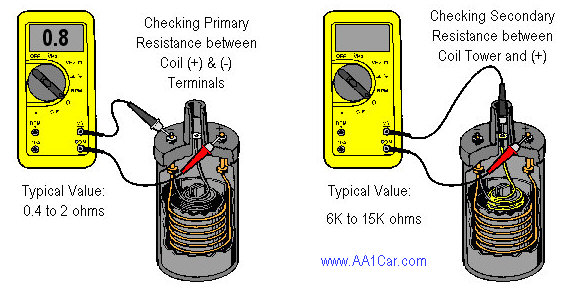
Credit: www.aa1car.com

Credit: www.youtube.com
Frequently Asked Questions
Here are some FAQs about testing an ignition coil –
How Do You Test A 12 Volt Ignition Coil?
To test a 12 volt ignition coil, follow these steps: 1. Disconnect the coil from the vehicle’s electrical system. 2. Use a multimeter to measure the resistance across the coil’s primary and secondary terminals. 3. Compare the readings with the specifications provided by the manufacturer.
4. If the readings are outside the recommended range, the coil may be faulty and should be replaced.
How Do You Test An Ignition Coil With A Multimeter?
To test an ignition coil with a multimeter, first disconnect the coil’s electrical connector and use the multimeter’s ohmmeter setting to measure the primary and secondary resistance of the coil. Compare the readings to the manufacturer’s specifications. If the readings are outside of the range, the coil may need to be replaced.
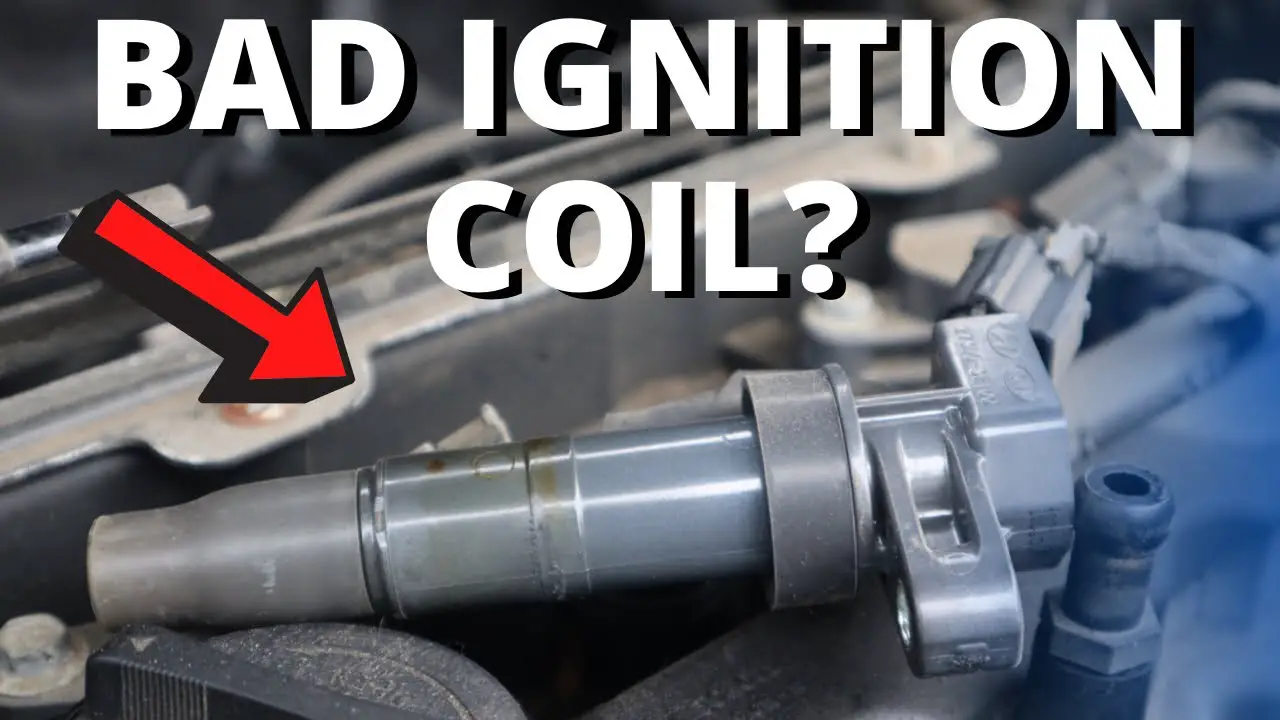
How Do I Check If My Ignition Coil Is Bad?
To check if your ignition coil is bad, use a multimeter to test the resistance between the primary and secondary terminals. A healthy coil should have a reading between 0. 4 and 2 ohms. If the reading is outside this range, then the coil is likely faulty and needs to be replaced.
What Should The Ohms Be On An Ignition Coil?
The ohms on an ignition coil should typically be around 6,000 to 15,000 ohms. This range may vary depending on the specific make and model of the vehicle.
What Are Common Signs Of A Failing Ignition Coil?
Common signs include engine misfires, stalling, rough idling, decreased fuel efficiency, and difficulty starting.
Conclusion
Testing an ignition coil is important for diagnosing engine problems. By following the simple steps outlined in this guide about how to test an ignition coil, you can accurately assess the condition of your ignition coil and address any issues promptly.