Are you encountering issues with your tachometer? Wondering how to bench test a tachometer to diagnose any potential problems? Bench testing a tachometer is a valuable troubleshooting technique that allows you to determine whether the device is functioning properly before installing it in your vehicle.
In this comprehensive guide, we will walk you through the step-by-step process of bench testing a tachometer to ensure accurate readings. So, let’s dive right in!
Contents
What is a Tachometer?
A tachometer is an instrument used to measure the rotational speed of an engine’s crankshaft. It provides the driver with real-time information on the engine’s revolutions per minute (RPM), allowing them to monitor the engine’s performance and adjust accordingly. Bench testing a tachometer allows you to verify its readings and functionality without the engine running.
Why Bench Test a Tachometer?
Bench testing a tachometer is a crucial step before installation, as it helps identify any potential issues with the instrument. By conducting a bench test, you can ensure the tachometer is functioning correctly, providing accurate readings, and responding appropriately to changes in RPM. This process can save you time and effort by identifying any problems early on and allowing for necessary repairs or replacements.
How to Bench Test a Tachometer
Bench testing a tachometer is a straightforward process that requires a few essential tools and careful execution. Follow the steps below to effectively bench test your tachometer:
Tools and Materials Needed
Before you begin bench testing your tachometer, make sure you have the following tools and materials:
- Tachometer
- A power source (battery or power supply)
- Benchtop power supply (if applicable)
- Wires with alligator clips
- Screwdriver set
- Multimeter (optional)
- Electrical tape
- Safety goggles
- The user manual or datasheet for the tachometer (if available)
Step 1: Safety Precautions
As with any electrical testing, it’s essential to prioritize safety. Before starting the bench test, make sure to:
- Wear safety goggles to protect your eyes from potential sparks or debris.
- Disconnect the power source of the vehicle to avoid any accidental electrical issues.
- Keep the work area clean and organized to prevent any mishaps.
Step 2: Setting up the Bench Test
To begin bench testing your tachometer, follow these steps:
- Find a suitable work surface where you can safely perform the test.
- Ensure the work area is well-lit and free from any potential hazards.
- Place the tachometer, power source, and other tools within easy reach.
- Familiarize yourself with the tachometer’s manual or instructions for specific wiring details.
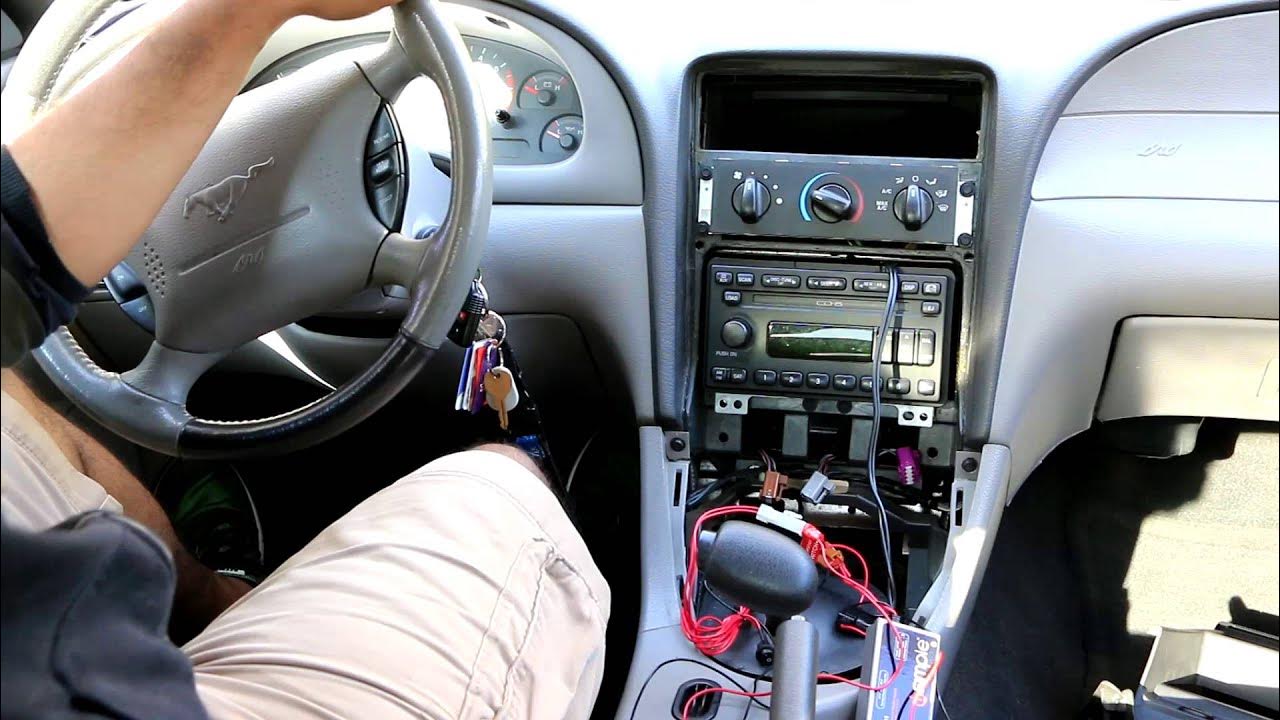
Step 3: Connecting the Tachometer
Now it’s time to connect the tachometer. Follow these steps:
- Identify the power, ground, and signal terminals on the tachometer.
- Use the screwdriver to loosen the necessary screws or terminals for wiring.
- Connect the power wire to the power terminal on the tachometer. Ensure a secure connection.
- Attach the ground wire to the designated ground terminal. Again, make sure it is securely connected.
- Locate the signal wire, which is usually connected to the ignition coil or tachometer output of your vehicle.
- Connect the signal wire to the appropriate terminal on the tachometer.
Step 4: Powering the Tachometer
Once the tachometer is connected, you need to provide power to it. Follow these steps:
- If using a battery as the power source, connect the positive (+) terminal of the battery to the tachometer’s power terminal.
- Connect the negative (-) terminal of the battery to the tachometer’s ground terminal.
- If using a power supply, ensure it is set to the appropriate voltage and connect the positive and negative leads to the respective terminals on the tachometer.
Step 5: Testing the Tachometer
With the tachometer properly connected and powered, it’s time to test its functionality. Here’s what you should do:
- Turn on the power source or activate the power supply.
- Observe the tachometer display and check if it shows any readings.
- Gradually increase the RPM by adjusting the power source or using a separate device like a handheld tachometer.
- Monitor the tachometer readings and ensure they correspond accurately to the RPM changes.
- Repeat the process at various RPM levels to verify consistent and reliable readings.
Troubleshooting Common Issues
If you encounter any problems during the bench test, here are some troubleshooting tips:
Check the wiring connections: Ensure all wires are securely connected and free from any loose connections or damage.
Verify the power source: Double-check the voltage output of the power source to ensure it matches the tachometer’s requirements.
Inspect the ground connection: Make sure the ground wire is properly connected and has a good contact point.
Test the signal wire: Use a multimeter to check for voltage or continuity in the signal wire.
Calibration adjustment: Some tachometers have calibration settings that can be adjusted to fine-tune the accuracy of the readings. Consult the tachometer’s manual for instructions on calibration procedures.
Consult the tachometer manual: If you’re still experiencing issues, refer to the tachometer’s manual for specific troubleshooting guidance.
FAQs (Frequently Asked Questions)
Q: Can I bench test any type of tachometer?
A: Yes, the process of bench testing a tachometer applies to most types and models available in the market. However, it’s always recommended to consult the specific instructions provided by the manufacturer for your tachometer model.
Q: How often should I bench test my tachometer?
A: It is generally not necessary to bench test your tachometer regularly unless you suspect a problem or have recently installed a new tachometer. Bench testing is primarily conducted during the initial setup or when troubleshooting a malfunctioning tachometer.
Q: Can I calibrate a tachometer during bench testing?
Q: Yes, if you notice significant discrepancies or inaccuracies during bench testing, you may need to calibrate the tachometer. Consult the user manual or manufacturer’s instructions for specific calibration procedures. It’s important to follow the recommended steps carefully to ensure proper calibration.
Q: Can I bench test a digital tachometer?
A: Yes, you can bench test a digital tachometer following similar procedures. However, consult the manufacturer’s instructions for any specific requirements or differences in the testing process.
Q: Can a faulty tachometer affect vehicle performance?
A: While a faulty tachometer itself may not directly affect vehicle performance, it can hinder the ability to monitor RPM accurately. This may lead to incorrect adjustments and potentially impact the overall performance of the vehicle.
Q: Should I perform a bench test for a new tachometer before installation?
A: Yes, bench testing a new tachometer is highly recommended. It allows you to verify its functionality and accuracy, ensuring proper performance once installed in a vehicle.
Conclusion
Bench testing a tachometer is a crucial step in ensuring accurate readings and diagnosing any potential issues before installation. By following the step-by-step process outlined in this guide and utilizing the recommended tools, you can effectively test your tachometer and troubleshoot any problems that may arise. Remember to consult the manufacturer’s instructions and seek professional help if needed. Bench testing your tachometer will provide peace of mind and help you maintain the optimal performance of your vehicle.