How to replace spark plugs: To replace spark plugs, disconnect the battery, remove the ignition coils or wires, unscrew the old plugs, and install the new ones with the correct gap. Finally, reconnect everything and test the engine.
Replacing spark plugs is one of the most essential maintenance tasks for keeping the engine running smoothly and efficiently. Whether you’re tackling it as a DIY project or simply looking to understand the process better, knowing how to replace spark plugs can save you money and help your vehicle perform optimally.
Spark plugs are small but mighty components that deliver the spark needed to ignite the air-fuel mixture in your engine’s cylinders. Over time, these plugs wear out, leading to poor engine performance, misfires, and reduced fuel efficiency.
In this article, we’ll walk you through the entire process of replacing spark plugs, from gathering the necessary tools to reinstalling your new spark plugs. Whether you’re a first-time DIYer or a seasoned pro, this guide will help you complete the task with ease.

Contents
- 1 How to Replace Spark Plugs
- 2 Step-by-Step Guide to Replacing Spark Plugs
- 2.1 Step 1: Prepare the Vehicle
- 2.2 Step 2: Remove the Ignition Coils or Spark Plug Wires
- 2.3 Step 3: Clean the Spark Plug Area
- 2.4 Step 4: Remove the Old Spark Plugs
- 2.5 Step 5: Check and Adjust the Gap on New Spark Plugs
- 2.6 Step 6: Install the New Spark Plugs
- 2.7 Step 7: Reinstall the Ignition Coils or Spark Plug Wires
- 2.8 Step 8: Reconnect the Battery and Test the Engine
- 3 Tips and Best Practices for Replacing Spark Plugs
- 4 Frequently Asked Questions
- 5 Conclusion
How to Replace Spark Plugs
Before you dive into replacing the spark plugs, it’s important to gather the correct tools and materials. Here’s a list of what you’ll need to complete the job:
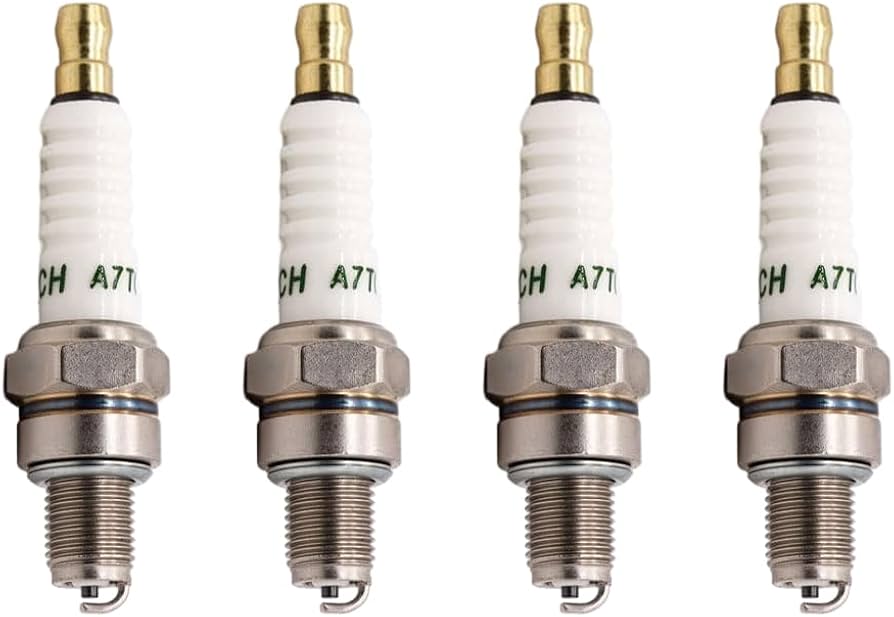
1. New Spark Plugs: Ensure that the spark plugs you purchase are the right fit for your vehicle. Your vehicle’s manual or an auto parts store can help you find the correct type and specifications.
2. Spark Plug Socket: Typically, you’ll need either a 5/8” or 13/16” socket, depending on the type of spark plugs used in your engine.
3. Ratchet Wrench: You’ll need a ratchet wrench to remove the spark plugs. It’s best to use a socket wrench with a long handle to get more leverage.
4. Torque Wrench: A torque wrench is essential to tighten the spark plugs to the manufacturer’s recommended torque. This ensures they are neither too tight nor too loose.
5. Spark Plug Gap Gauge: The spark plug gap is crucial for proper performance. Use a spark plug gap gauge to measure and adjust the gap if necessary.
6. Dielectric Grease: This is used to lubricate the inside of the spark plug boots to ensure easy removal in the future and to prevent corrosion.
7. Compressed Air or Vacuum: Before removing the spark plugs, use compressed air or a vacuum to clean the area around the spark plug. This ensures that no debris enters the engine during the process.
8. Anti-Seize Lubricant (Optional): Some people apply anti-seize lubricant to the threads of the spark plugs to prevent them from seizing in the engine. This is optional but can be helpful, especially for aluminum cylinder heads.
Step-by-Step Guide to Replacing Spark Plugs
Now that you have all your tools ready, it’s time to get started. Follow these steps to replace your spark plugs:
Step 1: Prepare the Vehicle
Before starting, make sure your engine is cool to avoid burns or injury. This is especially important if you’ve recently been driving.
- Disconnect the Negative Terminal of the Battery: This step is optional but can prevent any electrical accidents while you’re working on the engine.
- Locate the Spark Plugs: Consult your vehicle’s manual to find the location of the spark plugs. Typically, they are located on the top or side of the engine. Some vehicles require removing parts of the intake manifold or coil packs to access the spark plugs.
Step 2: Remove the Ignition Coils or Spark Plug Wires
For Coil-on-Plug Systems:
- If your vehicle uses a coil-on-plug system, you will need to remove the ignition coils first. These are usually held in place by bolts. Use a ratchet wrench to remove them carefully.
- Make sure to keep track of which coil goes with which spark plug by labeling them to ensure correct reinstallation.
For Traditional Spark Plug Wires:
- For older vehicles with spark plug wires, gently twist and pull each wire boot off the spark plugs. Make sure to label the wires so you don’t mix them up when reattaching them later.
Step 3: Clean the Spark Plug Area
Use compressed air or a vacuum to clean around the spark plugs. This is a very important step to avoid dirt or debris falling into the cylinder when the spark plug is removed.
Step 4: Remove the Old Spark Plugs
- Attach the spark plug socket to your ratchet wrench and carefully loosen the spark plug by turning it counterclockwise.
- Be gentle when loosening the plugs to avoid damaging the threads in the cylinder head.
- Once the spark plug is loose, remove it carefully by hand.
Step 5: Check and Adjust the Gap on New Spark Plugs
- New spark plugs may not always come with the correct gap for your vehicle. It’s essential to measure the gap using a spark plug gap gauge.
- Check your vehicle’s specifications and adjust the gap by gently bending the ground electrode until it matches the recommended value.
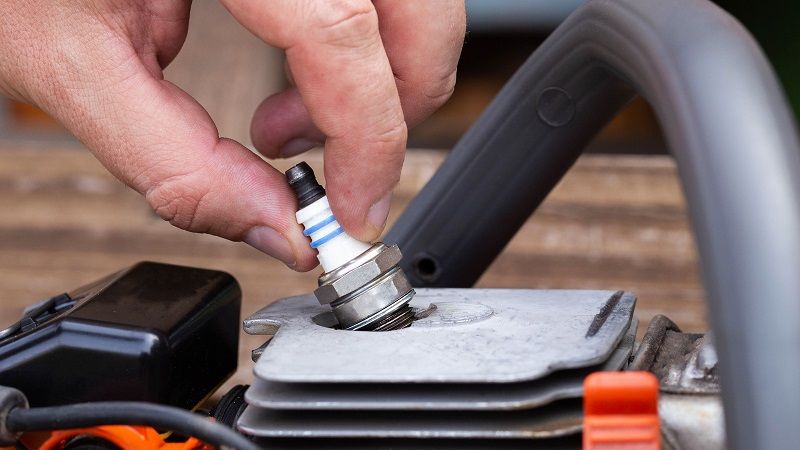
Step 6: Install the New Spark Plugs
- Hand-tighten the new spark plug into the engine’s cylinder head to avoid cross-threading.
- Use the torque wrench to tighten the spark plug to the manufacturer’s recommended torque specification. Over-tightening can damage the spark plug or the threads in the cylinder head.
- Optionally, apply a small amount of dielectric grease to the inside of the ignition coil boot or spark plug wire to prevent corrosion and make removal easier in the future.
Step 7: Reinstall the Ignition Coils or Spark Plug Wires
For Coil-on-Plug Systems:
- Reinstall the ignition coils by aligning them with the spark plugs and bolting them back into place.
For Spark Plug Wires:
- Attach each spark plug wire to its corresponding spark plug, making sure they are seated securely to avoid misfires.
Step 8: Reconnect the Battery and Test the Engine
- Reconnect the negative terminal of the battery.
- Start the engine and check for smooth idling and acceleration. Listen for any misfires or rough running.
- If the engine runs smoothly, congratulations, you’ve successfully replaced your spark plugs!
Tips and Best Practices for Replacing Spark Plugs
Here are some important tips to keep in mind to achieve a successful spark plug replacement.
- Use the Right Tools: Using the proper socket, wrench, and torque wrench is essential for a successful spark plug replacement. It ensures the spark plugs are installed properly and without damage.
- Replace All Spark Plugs: Even if only one plug is faulty, it’s a good idea to replace all of them to maintain uniform engine performance.
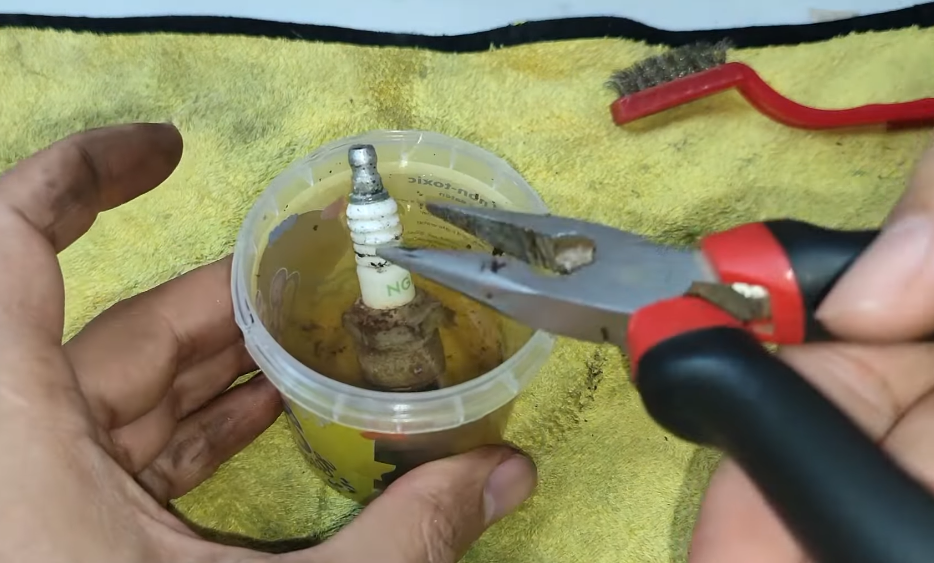
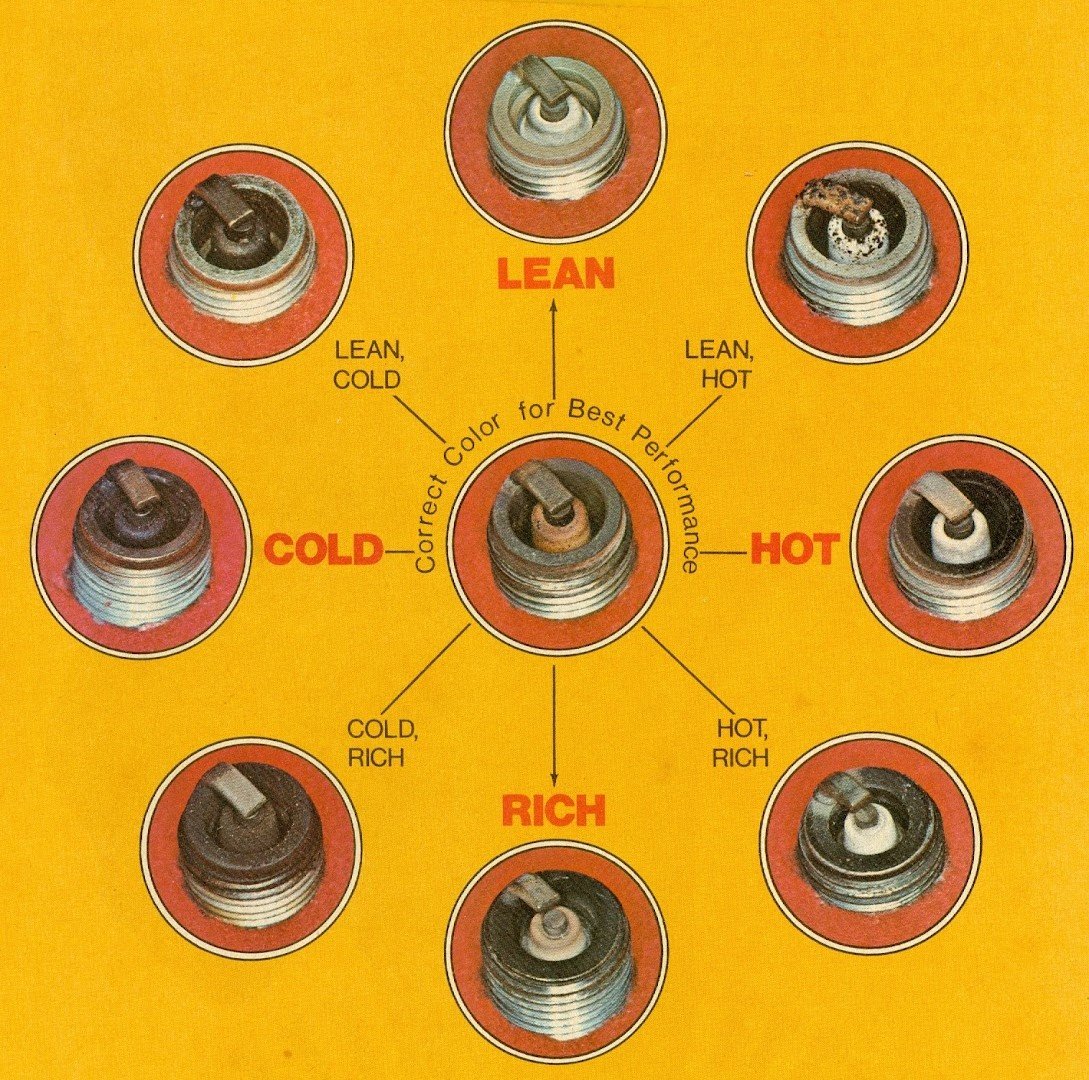
- Check the Condition of the Old Plugs: When removing the old plugs, inspect them for signs of wear, such as heavy carbon buildup, oil deposits, or damage. These can indicate underlying engine issues.
- Use Anti-Seize Lubricant Sparingly: If using anti-seize lubricant, apply it only to the threads of the spark plugs and avoid getting it on the electrode or insulator.
Frequently Asked Questions
Here are some FAQs about spark plugs replacement –
1. How often should I replace spark plugs?
Spark plugs should typically be replaced every 30,000 to 100,000 miles, depending on your vehicle and the type of spark plugs used.
2. Can I replace spark plugs without a torque wrench?
While it’s possible, a torque wrench ensures the spark plugs are tightened to the proper specifications, preventing over-tightening or under-tightening.
3. What happens if I don’t replace worn spark plugs?
Worn spark plugs can cause engine misfires, poor fuel efficiency, and even engine damage over time.
4. Can I clean and reuse spark plugs?
While cleaning spark plugs can sometimes be done, it’s generally recommended to replace them to ensure optimal performance.
5. Are all spark plugs the same?
No, spark plugs come in different types and sizes, so it’s essential to ensure you’re using the correct spark plugs for your specific vehicle model.
Conclusion
Replacing spark plugs is a vital maintenance task that improves engine efficiency, fuel economy, and overall vehicle performance. By following the steps outlined in this guide, you can easily replace the spark plugs and ensure the car runs at its best. While this task is relatively simple, always take your time and follow the manufacturer’s instructions to avoid any damage to the engine.