Leather car seats can add a touch of luxury and sophistication to any vehicle. However, over time, they can become worn, torn, or damaged. Instead of replacing the entire seat, you can opt for leather seat repair to restore them to their former glory. In this guide, we’ll explore how to repair leather car seats, from identifying the type of damage to the actual repair process.

Credit: www.tearmender.com
Contents
Type of Damage
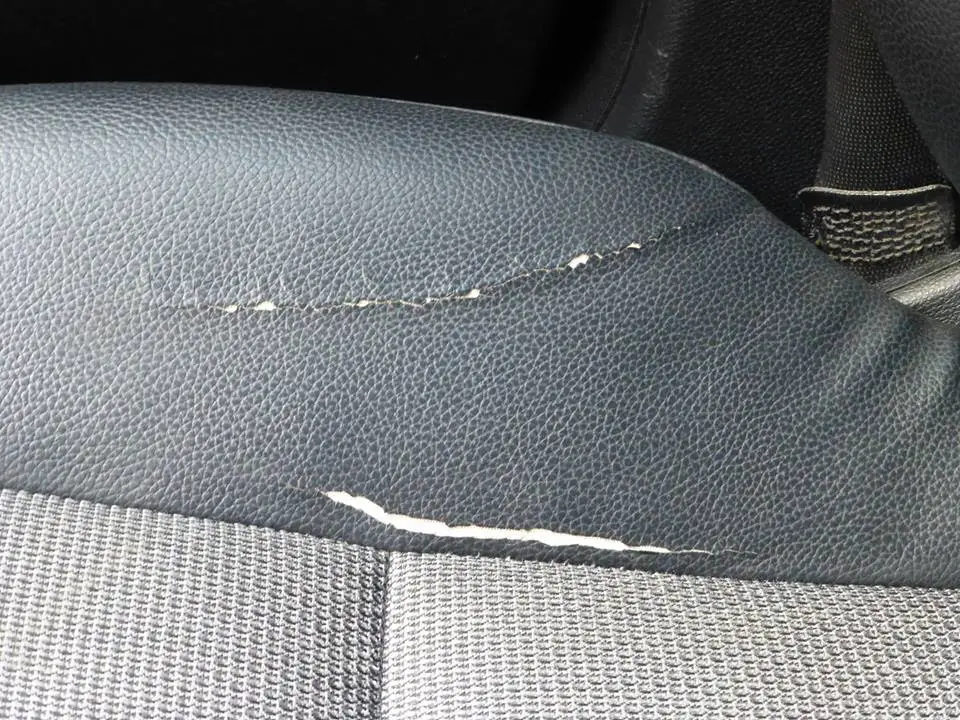
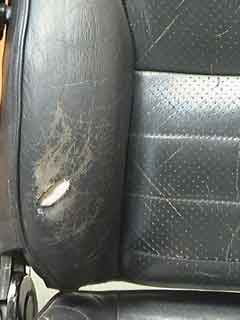
It’s important to assess the type and extent of damage to the leather car seats. Common issues include scratches, scuffs, cracks, and tears. By understanding the nature of the damage, you can determine the most suitable repair method.
Gather The Necessary Tools And Materials
Once you’ve identified the damage, it’s time to gather the tools and materials needed for the repair. This may include a leather repair kit, sandpaper, leather glue, leather filler, and color-matching leather dye. Having the right supplies at hand will ensure a smooth and effective repair process.
Repairing Minor Damage
If the damage to your leather car seats is minor, such as small scratches or scuffs, you can easily address it with a leather repair kit. These kits typically contain all the essentials for repairing minor damage, including color-matching compounds and application tools.
Applying The Leather Repair Compound
Start by cleaning the damaged area with a leather cleaner to remove any dirt and grime. Once the area is clean and dry, apply the leather repair compound using the provided tools. Smooth out the compound and allow it to dry according to the manufacturer’s instructions.
Addressing Larger Damage
For more significant damage, such as cracks or tears in the leather, a more comprehensive approach is required. Begin by carefully trimming any loose threads or edges around the damaged area to create a smooth surface for repair.
Using Leather Filler And Glue
Apply a small amount of leather glue to the edges of the tear and press them together. Once the glue has dried, use a leather filler to fill in the damaged area, ensuring a level and even application. Sand the filled area gently to smoothen the surface before proceeding to the next step.
Matching The Color
After the damaged area has been repaired and filled, it’s essential to match the color of the leather to ensure a seamless finish. Using a color-matching leather dye, carefully apply the dye to the repaired area, blending it in with the surrounding leather for a natural look.
Credit: www.furnitureclinic.co.uk
Protecting and Conditioning the Leather
Once the repair process is complete, it’s crucial to protect and condition the leather to maintain its quality and appearance. Consider using a leather conditioner to keep the seats supple and prevent future damage. Additionally, applying a leather protectant can help guard against spills and stains.
Frequently Asked Questions
Here are some FAQs about repairing car seat –
How To Identify Common Leather Car Seat Damages?
Inspect for cracks, tears, fading, or stains regularly to detect issues early.
What Are The Best Methods For Cleaning Leather Car Seats?
Use a gentle leather cleaner and soft cloth to wipe seats regularly.
How Can One Repair Minor Scratches On Leather Car Seats?
Apply a leather repair kit following the manufacturer’s instructions for best results.
What Maintenance Tips Can Help Prolong Leather Car Seat Life?
Condition seats regularly, park in shade, and clean spills promptly.
Conclusion
Repairing leather car seats can breathe new life into your vehicle’s interior, saving you the cost of replacement while preserving the original elegance of the seats. Just follow the appropriate steps of how to repair leather car seats, you can restore your leather car seats to their former glory and enjoy a luxurious driving experience once again.