How to close spark plug gap involves measuring the gap with a feeler gauge and adjusting it using a gap tool or pliers. If it’s too wide, tap the electrode to close it; if too narrow, gently bend it outward. Always recheck the gap after adjustment.
Spark plugs are vital components in the vehicle’s ignition system, responsible for igniting the air-fuel mixture in the engine’s combustion chamber. If the spark plug gap is not properly set, it can lead to poor engine performance, misfires, decreased fuel efficiency, and even potential engine damage. While spark plugs are built to last, the gap between the center and ground electrodes can change over time due to wear, temperature fluctuations, and other factors.
This is why knowing how to close spark plug gap is essential for maintaining the optimal performance of your engine. Whether you’re a seasoned DIY mechanic or a beginner, understanding how to adjust the spark plug gap can be a simple yet effective way to keep the vehicle running smoothly.
In this guide, we will walk you through the step-by-step process of closing or adjusting the spark plug gap safely and effectively, using the right tools. By the end of this post, you’ll be equipped with the knowledge to perform this maintenance task on your own, saving you time and money, while ensuring that your engine performs at its best.
Contents
What Is Spark Plug Gapping?
Before we dive into how to close the spark plug gap, it’s important to understand what spark plug gapping is and why it matters.
1. What Is Spark Plug Gapping?
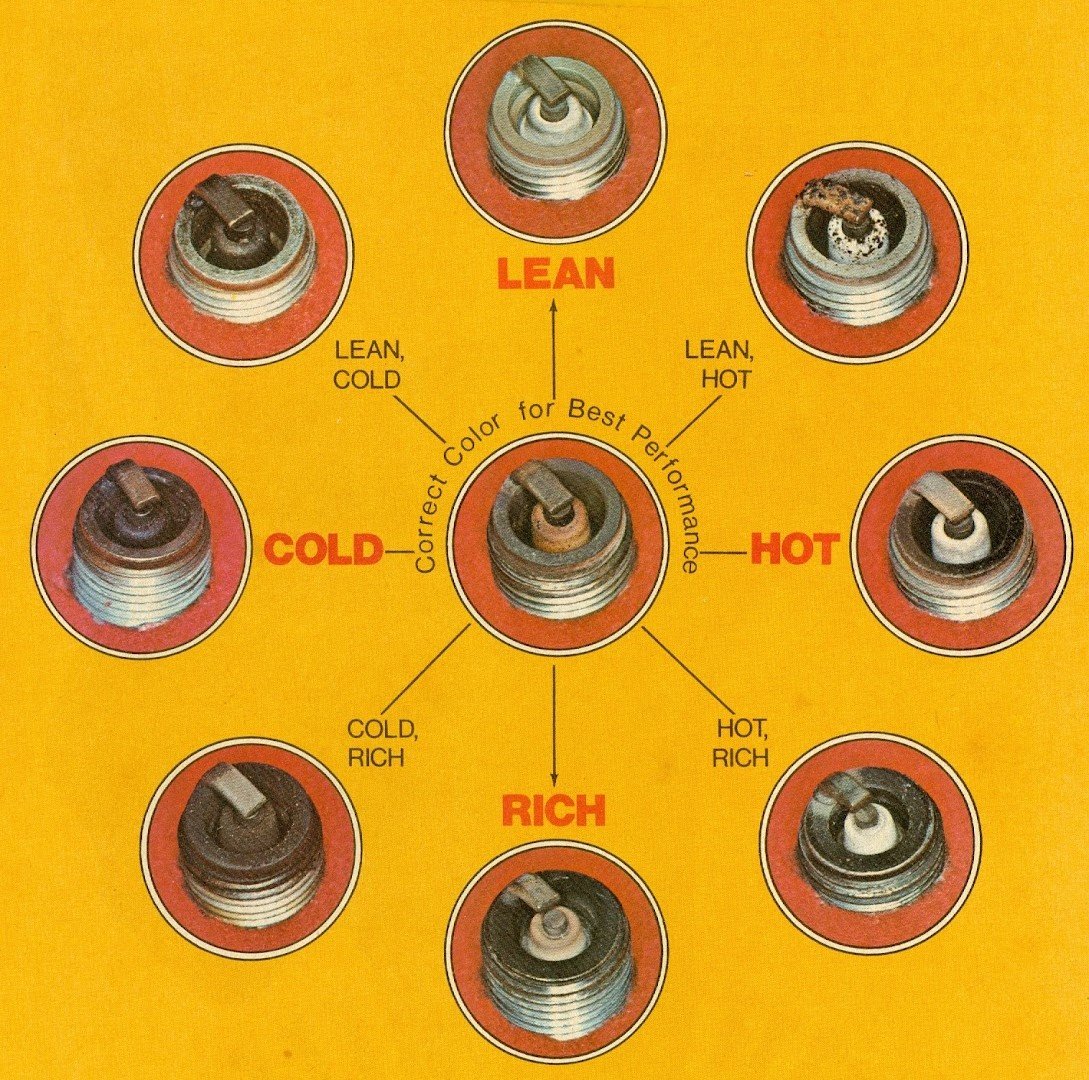
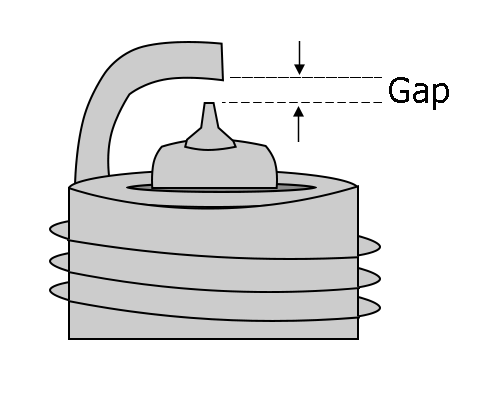
The spark plug gap refers to the space between the center electrode and the ground electrode of the spark plug. This gap determines how much voltage is needed to create a spark that will ignite the air-fuel mixture in the engine’s combustion chamber. The correct gap is essential for the spark plug to function properly and to ensure optimal engine performance.
2. Why Is Spark Plug Gapping Important?
When the spark plug gap is too wide, it may require more voltage to generate a spark, which could lead to weak ignition or misfires. On the other hand, if the gap is too narrow, the spark may be too small or fail to form, leading to poor engine performance, lower fuel efficiency, and even engine damage. Hence, setting the correct spark plug gap is critical for your vehicle’s engine health and performance.
How to Close Spark Plug Gap
Before you begin, it’s essential to gather the correct tools to adjust the spark plug gap accurately. Here’s a list of what you’ll need:
- Feeler Gauge: This tool consists of a set of thin metal blades that help measure the gap in your spark plugs accurately.
- Spark Plug Gap Tool: A specialized tool for adjusting the spark plug gap, typically used for bending the ground electrode.
- Needle-Nose Pliers: These pliers are useful for gently bending the ground electrode if the gap needs to be narrowed.
- Clean Cloth: It’s important to wipe off any dirt, oil, or debris from the spark plug to ensure you get an accurate measurement.
- Torque Wrench: To reinstall the spark plug back into the engine at the correct torque specifications.
Step-by-Step Guide to Closing the Spark Plug Gap
Now that you have the necessary tools, let’s go through the detailed step-by-step process of closing or adjusting your spark plug gap. This method will help ensure your spark plugs are properly gapped and ready to perform optimally.
1. Locate the Spark Plugs
The first step is locating the spark plugs in your vehicle. Depending on the engine model, spark plugs can be found at the top or side of the engine block. They are usually hidden under ignition coils, wires, or other components, so you may need to remove these parts to access the spark plugs.
- Tip: Always refer to your vehicle’s owner manual to ensure you’re locating the correct spark plugs.
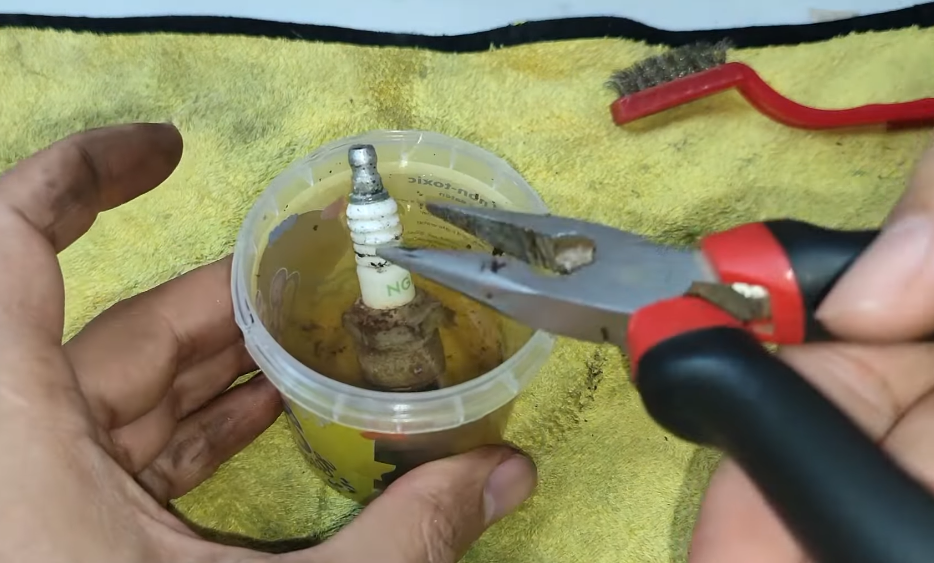
2. Remove the Spark Plug
Once you’ve located the spark plug, carefully remove it using a spark plug socket and a ratchet. This tool allows you to safely unscrew the spark plug without damaging it. Be gentle to avoid stripping the threads in the engine. Place the spark plug on a clean surface to avoid any contaminants from getting into the spark plug threads.
- Tip: Before removing the spark plug, inspect the condition of the ignition wires. If they seem cracked or worn, it may be a good time to replace them.
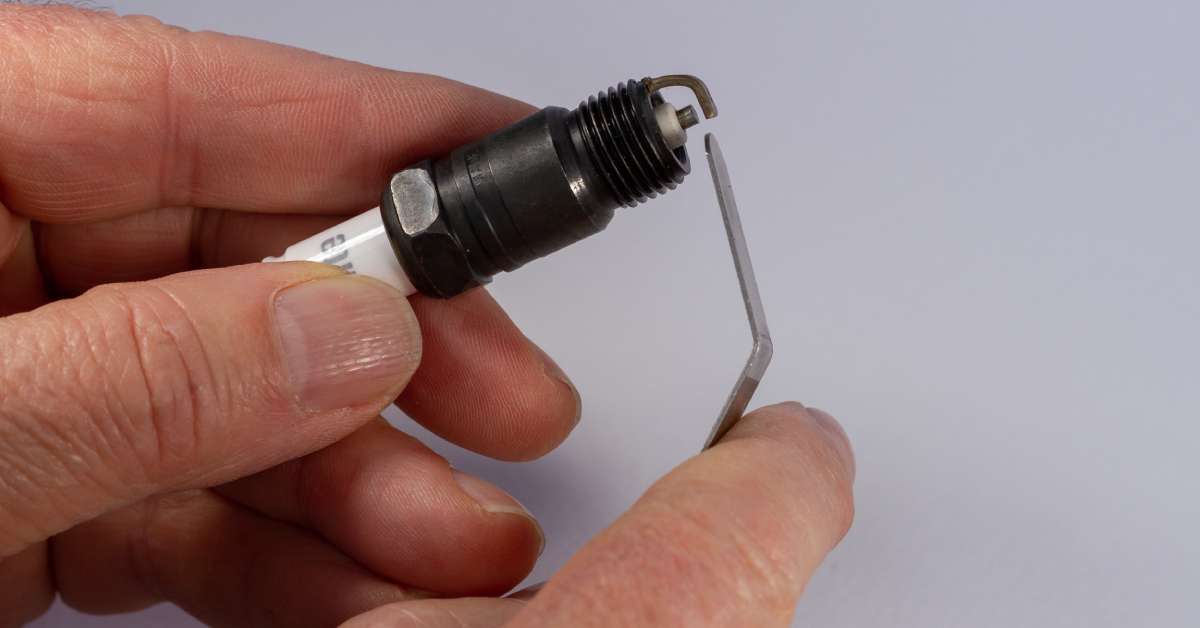
3. Measure the Existing Spark Plug Gap
Use a feeler gauge to measure the current gap between the center electrode and the ground electrode. The feeler gauge is designed to slide into the gap, giving you an accurate reading.
- How to Use the Feeler Gauge:
- Select a blade from the feeler gauge that closely matches the gap you expect.
- Insert the blade between the electrodes, and if it slides in with a slight resistance, it’s the correct measurement.
- Repeat the process with different blades until you have an accurate reading.
- Tip: Refer to the spark plug specifications in your vehicle’s manual to find the recommended gap measurement. Most spark plugs have a recommended gap range, so make sure you follow it precisely.
4. Adjust the Spark Plug Gap
Once you have measured the gap, you may find that it needs adjustment. If the gap is too wide or too narrow, you can adjust it with one of the following methods:
- If the Gap is Too Wide:
- Use a spark plug gap tool to gently tap the ground electrode and close the gap. Be sure to apply only light pressure, as excessive force can damage the spark plug.
- If the Gap is Too Narrow:
- Use a pair of needle-nose pliers to carefully bend the ground electrode outward to widen the gap. Be sure to do this slowly to avoid breaking or damaging the electrode.
- Tip: Adjust the gap in small increments and continuously measure it with the feeler gauge until you reach the desired gap.
5. Recheck the Gap
After adjusting the gap, use the feeler gauge again to ensure the gap is correct. This step is important to make sure that the gap is not over-adjusted or under-adjusted. Double-check and verify the measurement several times to avoid errors.
6. Reinstall the Spark Plug
Once you have set the correct gap, it’s time to reinstall the spark plug into the engine. Carefully screw the spark plug back into place using your fingers first to avoid cross-threading. Then, use a torque wrench to tighten the spark plug to the manufacturer’s specified torque. This will ensure the spark plug is secured but not over-tightened, which could cause damage.
- Tip: Always follow the recommended torque settings from your vehicle’s manual. Over-tightening or under-tightening the spark plug can lead to issues such as poor ignition or damage to the spark plug threads.
Important Tips When Closing the Spark Plug Gap
Ensuring that you adjust the spark plug gap properly is crucial for the overall performance of your engine. Below are some important tips to keep in mind when closing the spark plug gap.
1. Handle Spark Plugs With Care
Spark plugs are delicate and can break easily if dropped. Always handle them gently and avoid hitting them on hard surfaces. A spark plug that is cracked or damaged may not perform correctly, so it’s important to inspect the plug for any signs of wear or cracks before installation.
2. Don’t Over-Adjust the Gap
It’s crucial to make small adjustments to the gap. Over-bending the ground electrode can cause irreparable damage to the spark plug. If you find that the spark plug is severely mis-gapped, it may be better to replace the spark plug altogether rather than trying to adjust it too much.
3. Use the Correct Tools
Always use tools that are specifically designed for spark plug maintenance. Tools such as a feeler gauge and spark plug gap tool are designed to adjust the gap safely without damaging the spark plug. Using incorrect tools or applying excessive force could compromise the performance of the spark plug.
4. Check the Spark Plug Gap Regularly
Spark plug gaps should be checked and adjusted periodically, especially if you’re replacing spark plugs or performing routine maintenance. Even a slight change in the gap can affect engine performance, so it’s important to stay on top of this maintenance task.
5. Replace Worn-Out Spark Plugs
If the spark plug is too worn out or damaged, adjusting the gap may not restore its performance. In such cases, it’s best to replace the spark plug with a new one. Worn-out spark plugs can cause engine misfires and other performance issues, so they should be replaced as part of your regular maintenance schedule.
Common Spark Plug Gap Specifications
Here is a general overview of common spark plug gap specifications:
| Vehicle Type | Recommended Spark Plug Gap |
|---|---|
| Passenger Cars | 0.028–0.060 inches |
| Trucks & SUVs | 0.032–0.055 inches |
| High-Performance Vehicles | 0.030–0.050 inches |
- Tip: Always refer to your owner’s manual for the exact specifications for your vehicle.
Frequently Asked Questions
Here are some FAQs about how to close spark plug gap –
1. Can I adjust the gap on iridium or platinum spark plugs?
It is not recommended to adjust the gap on iridium or platinum spark plugs, as these materials are more brittle and can break easily. Always check the gap when purchasing them and avoid adjusting.
2. How do I know if my spark plug gap is correct?
You can check the gap using a feeler gauge. Simply insert the gauge between the center and ground electrodes and compare the measurement with your vehicle’s manual.
3. What happens if my spark plug gap is too wide?
If the gap is too wide, the spark plug may require more voltage to generate a spark, which can lead to engine misfires, poor performance, and increased fuel consumption.
4. What if I don’t have a feeler gauge?
If you don’t have a feeler gauge, you can use a spark plug gap tool, which comes with adjustable settings to set the correct gap.
5. How often should I check my spark plug gap?
You should check the spark plug gap during routine maintenance or whenever you replace your spark plugs. Regular checks help maintain engine performance and fuel efficiency.
Conclusion
Adjusting or closing the spark plug gap is an easy yet crucial part of vehicle maintenance. Ensuring that the gap is correctly set can improve ignition efficiency, engine performance, and fuel economy. By following the steps outlined in this guide, you can safely and accurately adjust the spark plug gap yourself, saving time and money on repairs.