How to build spark plug wires involves cutting the wire to size, stripping the ends, attaching terminals and spark plug boots, and securing the wires. Finally, test for continuity to ensure proper function.
If you’re looking to enhance your vehicle’s performance or save money on ignition system repairs, building your own spark plug wires is a rewarding project. Spark plug wires are crucial to the proper functioning of your engine, and being able to custom-make them gives you full control over your vehicle’s performance.
In this guide, we will take you step-by-step through the process of building spark plug wires. Whether you are an experienced DIY mechanic or a beginner looking to learn, this post will provide you with the essential knowledge to accomplish this task. You will learn about the necessary tools, materials, and techniques, as well as some common mistakes to avoid.
Contents
What Are Spark Plug Wires?
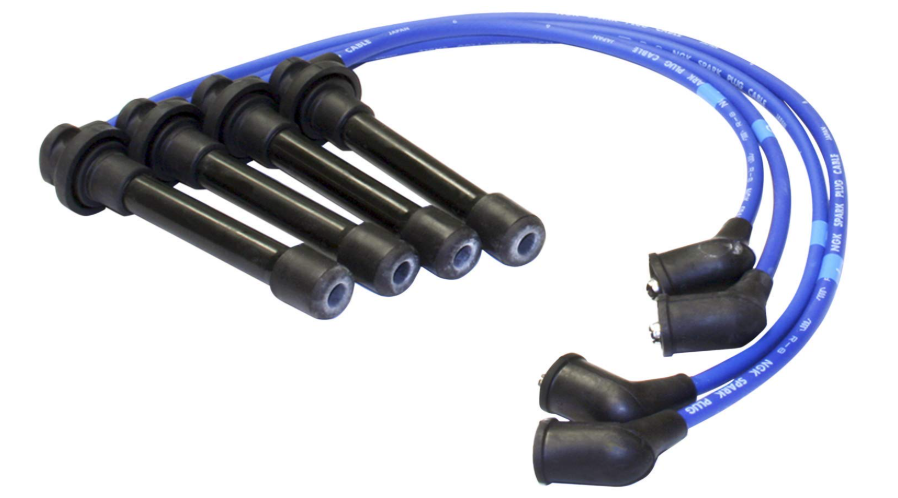
Spark plug wires, also known as ignition wires or HT leads, are an essential component of a vehicle’s ignition system. Their main job is to carry high-voltage electrical signals from the ignition coil to the spark plugs, creating the necessary spark to ignite the air-fuel mixture inside the engine’s cylinders. Without these wires, your car would not be able to start or run properly.
Why Should You Build Spark Plug Wires?
Building your own spark plug wires can seem like a complicated task, but it offers several advantages over purchasing pre-made wires. Here’s why you might want to consider taking on this project:
- Customization: When you build your own spark plug wires, you can customize the wire lengths and routing to fit your engine layout perfectly.
- Cost Savings: Purchasing high-quality, pre-made spark plug wires can be expensive. Building them yourself can save a significant amount of money.
- Better Performance: By selecting premium materials, you can enhance your ignition system’s performance. Wires with low resistance can improve engine efficiency and overall performance.
- Aesthetics: Custom spark plug wires can give your engine bay a cleaner, more organized appearance.
Materials and Tools You’ll Need
Before diving into the process, it’s important to gather the correct materials and tools. Using the right supplies will ensure the longevity and effectiveness of your custom spark plug wires.
Materials
- Spark Plug Wire
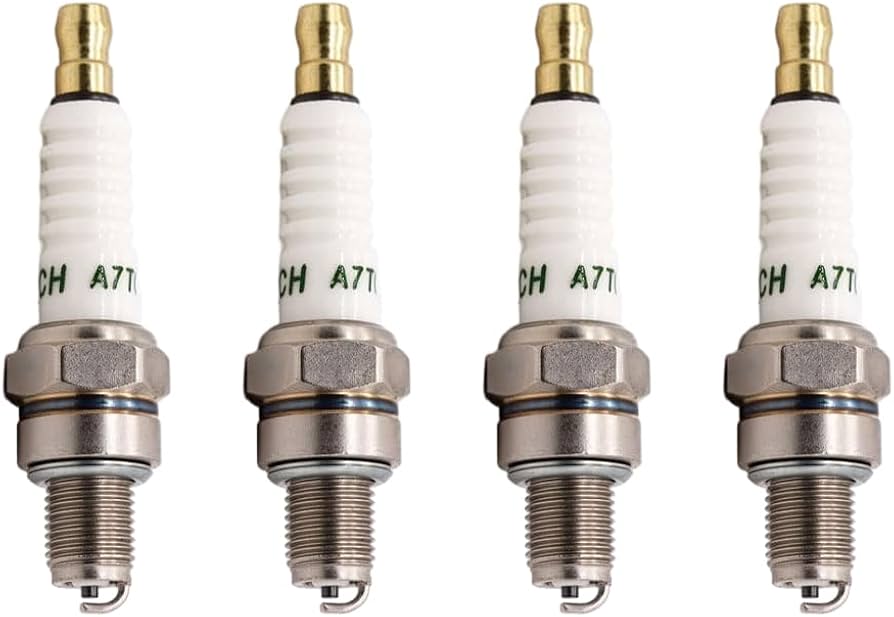
The wire itself is the most important component of spark plug wires. The wire needs to be able to handle high voltages, resist heat, and be durable over time. Look for wires that have a low resistance to ensure proper electrical current flow, such as those with a silicone or carbon core. - Spark Plug Boots
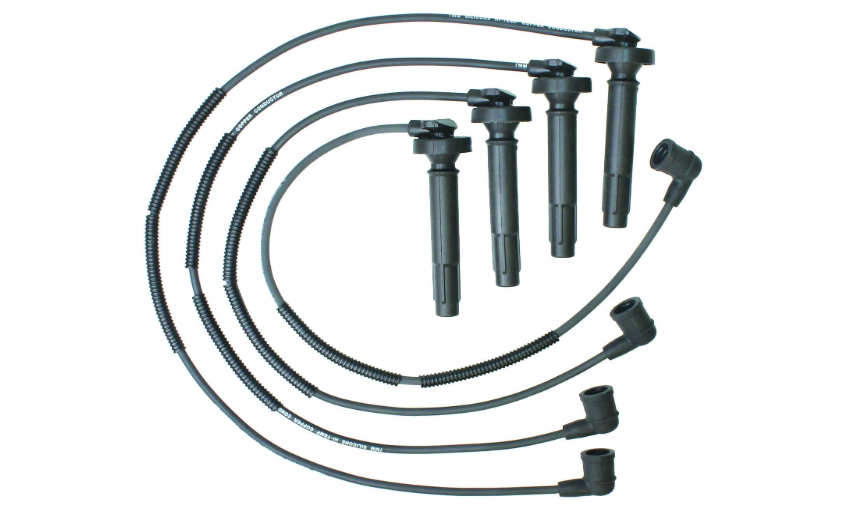
These are the connectors that fit over the spark plugs. They come in various angles (90-degree, straight, etc.) to accommodate different engine layouts. Ensure that the boots are made of high-quality materials like silicone, which can withstand high temperatures and electrical stress. - Ignition Coil Boots
Similar to spark plug boots, these boots connect the spark plug wires to the ignition coil. They also need to be durable and heat-resistant. - Terminals
These are the metal connectors that attach to both ends of the wire. You’ll typically use brass or stainless steel terminals for maximum conductivity and corrosion resistance. - Heat Shrink Tubing
Heat shrink tubing insulates and protects the terminals and wiring. It helps to keep the wiring from fraying or making contact with other parts of the engine. - Dielectric Grease
This grease is used to lubricate the inside of the spark plug boots and help prevent moisture and corrosion. - Electrical Tape
Electrical tape can be used to bundle and secure the wires in place.
Tools
- Wire Cutters
You’ll need these to cut the spark plug wire to the appropriate lengths. - Wire Strippers
These are used to strip the insulation off the wire without damaging the internal conductor. - Crimping Tool
This tool is used to attach the terminals to the wire. Crimping ensures a secure connection. - Soldering Iron and Solder
These are optional but can be used to create an even more secure connection when attaching the terminals. - Heat Gun
A heat gun or lighter is used to shrink the heat shrink tubing onto the wire. - Multimeter
A multimeter allows you to test the continuity of the wires to ensure there are no electrical faults.
Step-by-Step Guide to Building Spark Plug Wires
Building spark plug wires may seem complicated at first, but with the right materials and a step-by-step approach, you can easily assemble custom spark plug wires that will perform optimally. Follow this detailed guide to ensure you create reliable and long-lasting wires for your engine.
Step 1: Measure and Cut the Wire
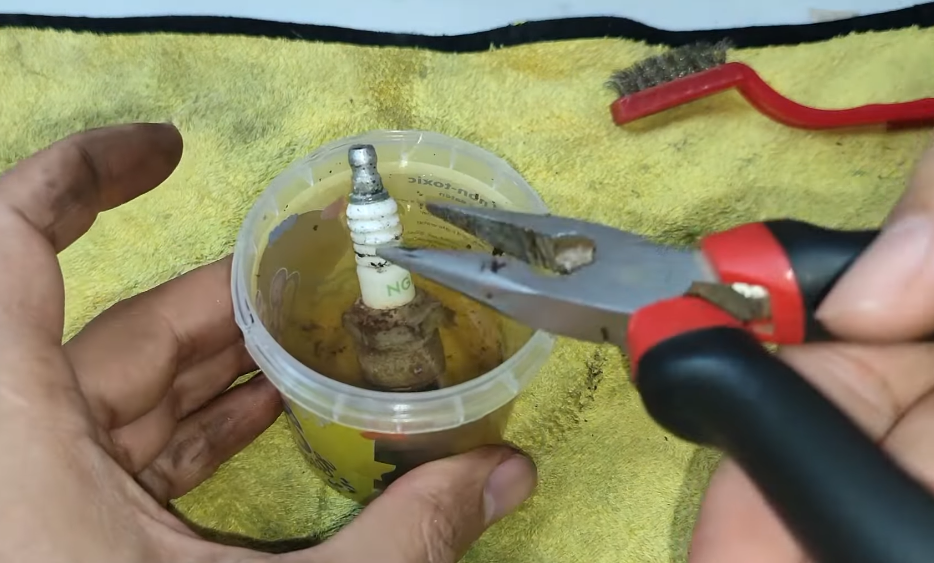
Start by measuring the distance from the ignition coil to the spark plugs. Be sure to leave a bit of extra length for flexibility and ease of routing around the engine. Once you’ve measured the required lengths, use wire cutters to cut the wire. Always cut the wire straight to avoid fraying the ends and making the installation process more difficult.
Step 2: Strip the Wire Ends
Next, strip around 1/2 inch of insulation off both ends of the wire using wire strippers. Be careful not to damage the internal conductor, especially if you are using carbon core wires. This step is crucial, as improper stripping can lead to a poor connection and performance issues.
Step 3: Attach the Terminals
It’s time to attach the terminals to the wire. There are two main methods for attaching terminals:
Crimping the Terminals:
- Place the exposed wire into the terminal.
- Use a crimping tool to securely crimp the terminal onto the wire. Ensure the crimp is tight, but not so tight that you damage the wire itself.
Soldering the Terminals:
- Alternatively, you can solder the terminal onto the wire for a stronger connection. Heat the terminal and wire using a soldering iron, then apply the solder. Allow the joint to cool before moving to the next step.
Step 4: Attach the Spark Plug Boots
Now, slide the spark plug boot onto the terminal, making sure it is positioned properly according to your engine layout. Be sure to apply dielectric grease to the inside of the boot before securing it in place. This will help prevent corrosion and ensure a strong electrical connection between the boot and the terminal.
Step 5: Install the Ignition Coil Boot
Repeat the process on the ignition coil side of the wire. Slide the ignition coil boot onto the terminal and apply dielectric grease as needed. Ensure the boot fits securely onto both the wire and ignition coil to prevent it from coming loose during operation.
Step 6: Secure the Wires
At this point, you should have all the components of your spark plug wires assembled. Use wire looms or electrical tape to bundle the wires together. Make sure the wires are routed properly to avoid contact with hot engine parts or sharp edges. Proper wire management is essential for both safety and longevity.
Step 7: Test the Wires
Before installing the wires on your vehicle, it’s essential to test them using a multimeter. Set your multimeter to the continuity mode and check each wire for continuity. This will help you identify any breaks in the wire or issues with the terminal connections. If any wire shows a break or abnormal resistance, it needs to be replaced.
Additional Tips and Tricks
Before you start the process, it’s important to remember that building spark plug wires is a delicate task that requires attention to detail. Below are some additional tips to ensure your wires perform well:
- Use High-Quality Materials: The performance of your custom wires depends on the quality of the materials you choose. Low-resistance wires and quality terminals ensure that the electrical current flows effectively.
- Plan Your Wire Routing: Route your wires in a way that avoids contact with any hot engine parts, sharp edges, or moving components. Proper routing will not only ensure the longevity of the wires but also prevent performance issues.
- Use Proper Insulation: Insulation is key to maintaining the longevity of your spark plug wires. Using heat shrink tubing and dielectric grease helps protect the wires from corrosion and extreme temperatures.
- Check Resistance: Always check the resistance of the wire before using it. Excessive resistance could affect the performance of your ignition system, so ensure that the wire you are using falls within the manufacturer’s recommended range.
- Secure the Wires: Once installed, be sure the wires are securely in place and do not move around. Loose wires can cause a range of issues, from poor performance to damage to other engine components.
Frequently Asked Questions
Here are some FAQs about how to build spark plug wires –
Q1: Can I use regular wire for spark plug wires?
No, regular wire is not designed to withstand the high voltages and temperatures that spark plug wires are exposed to. Spark plug wires are made from materials that can handle extreme conditions, such as silicone or carbon.
Q2: How often should I replace spark plug wires?
Generally, spark plug wires should be replaced every 30,000 to 50,000 miles, depending on the type of vehicle and the wires used. However, if you notice a decrease in engine performance, it may be time to replace the wires sooner.
Q3: Can I use spark plug wires from a different vehicle?
While it’s possible, it’s not recommended. Spark plug wires are often specific to a vehicle’s engine layout, so using wires from a different vehicle may lead to poor fitment or suboptimal performance.
Q4: What type of spark plug wire insulation is best?
Silicone insulation is highly recommended because of its ability to withstand high temperatures and its durability. Teflon and other specialized materials are also excellent choices.
Q5: Can I build spark plug wires without soldering?
Yes, crimping is a perfectly viable option and often preferred because it’s quicker and doesn’t require special skills or equipment. However, soldering can offer a more secure and durable connection.
Conclusion
Building your own spark plug wires is an excellent way to save money while improving your vehicle’s ignition system performance. By following the steps and tips outlined in this guide, you can create a custom set of spark plug wires that will perform well for years to come.
Remember, precision and patience are key. With the right materials, tools, and a bit of practice, you can master the art of building spark plug wires and enjoy the satisfaction of knowing you did it yourself.