2012 Mustang ball joint replacement is a crucial maintenance task that ensures proper suspension function and vehicle safety. Replacing the ball joints helps resolve issues like clunking noises, steering problems, and uneven tire wear, improving your Mustang’s handling and longevity
Replacing the ball joints on the 2012 Ford Mustang is not just a maintenance task—it is essential for ensuring the longevity and smooth performance of your suspension system. If you’ve noticed clunking noises, unusual tire wear, or steering difficulties in your Mustang, the ball joints could be the issue.
This detailed guide will cover everything you need to know about the ball joint replacement process, from the tools required to the step-by-step instructions, so you can tackle this repair with confidence, whether you are a seasoned mechanic or a beginner.
Contents
- 1 The Role of Ball Joints in the Mustang
- 2 Why Replace the Ball Joints in the 2012 Mustang?
- 3 How to Replace the Ball Joints in the 2012 Mustang
- 4 Step-by-Step Guide to Replacing the 2012 Mustang Ball Joints
- 4.1 1. Prepare the Vehicle
- 4.2 2. Disconnect the Brake Components
- 4.3 3. Detach the Steering Knuckle from the Ball Joint
- 4.4 4. Remove the Lower Control Arm
- 4.5 5. Press Out the Old Ball Joint
- 4.6 6. Install the New Ball Joint
- 4.7 7. Reinstall the Lower Control Arm
- 4.8 8. Reattach the Steering Knuckle
- 4.9 9. Reassemble the Brake Components
- 4.10 10. Reinstall the Wheels and Lower the Vehicle
- 5 Tips for a Successful Ball Joint Replacement
- 6 Frequently Asked Questions
- 7 Conclusion
The Role of Ball Joints in the Mustang
Ball joints act as the pivot points that allow the steering knuckle to move up and down with the control arm. They are responsible for maintaining a smooth and stable ride while ensuring the proper alignment of the wheels. Since the ball joints connect the suspension to the steering system, their failure can significantly impact your vehicle’s handling, safety, and tire life.
In your 2012 Mustang, the ball joints are integral to the control arms, meaning when a ball joint fails, the entire control arm must be replaced. Worn-out ball joints can lead to clunking sounds when going over bumps, misalignment, and uneven tire wear, making it critical to address them promptly.
Why Replace the Ball Joints in the 2012 Mustang?
There are several key reasons why you might need to replace the ball joints in your Mustang. Over time, ball joints wear out due to normal driving conditions. However, they can also wear out prematurely if the vehicle is frequently driven over rough terrain, if the suspension system is not properly maintained, or if the vehicle is older.
Some of the common signs that your ball joints need replacing include:
- Clunking noises when going over bumps or turning the steering wheel.
- Uneven tire wear, especially on the inner or outer edges.
- Loose steering or difficulty steering, particularly while driving at lower speeds.
- Visible damage or rust on the ball joint components.
By replacing worn-out ball joints, you improve your Mustang’s safety, performance, and handling. It also reduces the risk of other suspension-related issues down the road, saving you money on repairs in the long run.
How to Replace the Ball Joints in the 2012 Mustang
Replacing the ball joints on a 2012 Ford Mustang requires several tools and materials to ensure a smooth and effective process. Here’s a comprehensive list of what you’ll need:
- Floor jack and jack stands: To lift the car and secure it safely while you work.
- Lug wrench: To remove the wheels.
- Ball joint press kit: Essential for pressing the ball joints in and out of the control arms.
- Pry bar: To separate stuck parts during the removal process.
- Torque wrench: To ensure all bolts are tightened to the proper specifications.
- Grease gun: For lubricating the new ball joints once they are installed.
- Replacement control arms with ball joints: You will need to replace the entire control arm if the ball joints are worn out.
- Safety gloves and goggles: To protect yourself during the repair process.
With these tools, you’ll be able to replace the ball joints on your Mustang effectively. Make sure to double-check that all your tools are in good working condition before you start.
Step-by-Step Guide to Replacing the 2012 Mustang Ball Joints
This process is detailed to ensure even beginners can follow it without difficulty.
1. Prepare the Vehicle
Before starting, ensure that your Mustang is parked on a flat, level surface. Engage the parking brake to prevent the vehicle from moving during the repair. Once the car is secure, use the floor jack to lift the front end of the vehicle.
- Position the jack under the front frame or subframe.
- Lift the vehicle until the front tires are off the ground.
- Once the car is lifted, place the jack stands under the frame to provide additional support.
Now, remove the front wheels using the lug wrench.
2. Disconnect the Brake Components
To gain access to the suspension components, you will need to disconnect the brake parts:
- Remove the brake calipers by loosening the caliper bolts and securing the calipers with zip ties or string (do not let them hang by the brake line).
- Remove the brake rotors from the hub assembly.
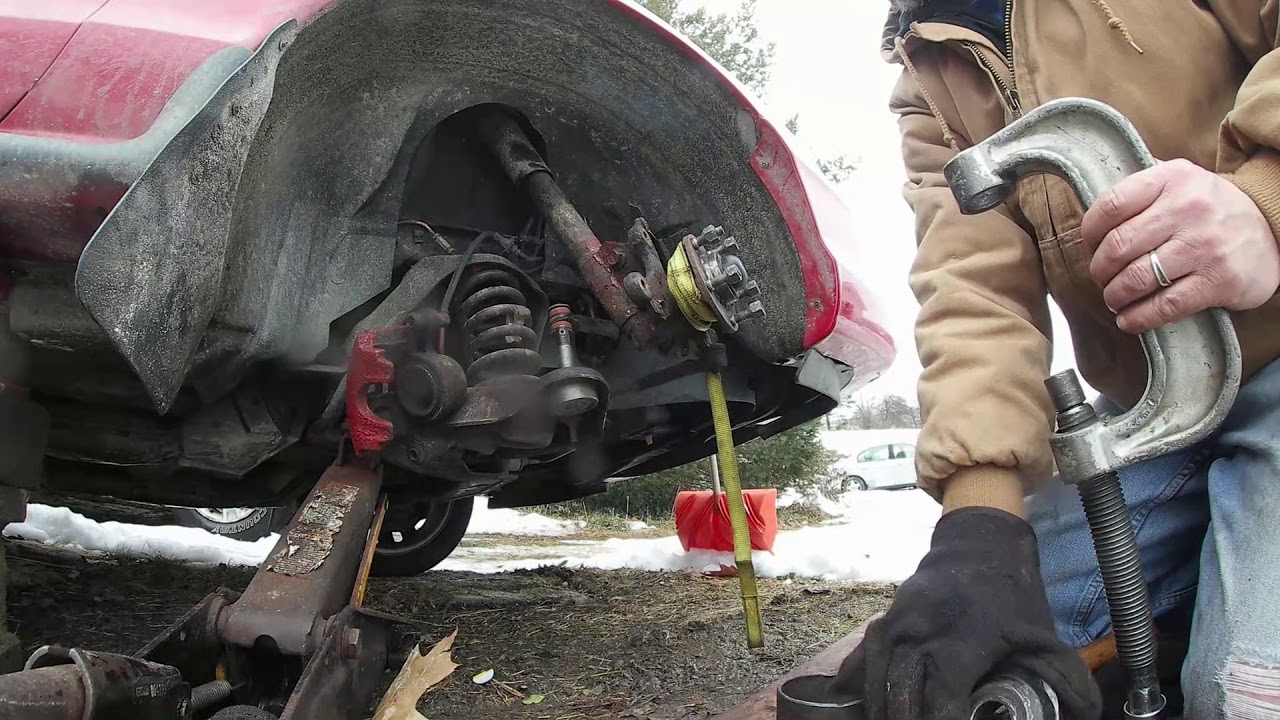
3. Detach the Steering Knuckle from the Ball Joint
At this point, you need to disconnect the ball joint from the steering knuckle:
- Use a wrench to remove the cotter pin securing the ball joint stud.
- Remove the nut holding the ball joint to the steering knuckle.
- Using a ball joint separator (also called a pickle fork), carefully tap it with a hammer to separate the ball joint from the steering knuckle.
4. Remove the Lower Control Arm
Now that the ball joint is disconnected from the steering knuckle, it’s time to remove the control arm:
- Locate the bolts securing the lower control arm to the vehicle’s subframe.
- Use a wrench to remove these bolts and take out the lower control arm.
- Set the control arm aside for the ball joint press.
5. Press Out the Old Ball Joint
To remove the old ball joint from the control arm, you’ll need a ball joint press kit:
- Position the control arm in the press and set up the press according to the kit’s instructions.
- Use the press to carefully remove the old ball joint. This can be a tough step, especially if the ball joint is rusted or stuck, so take your time.
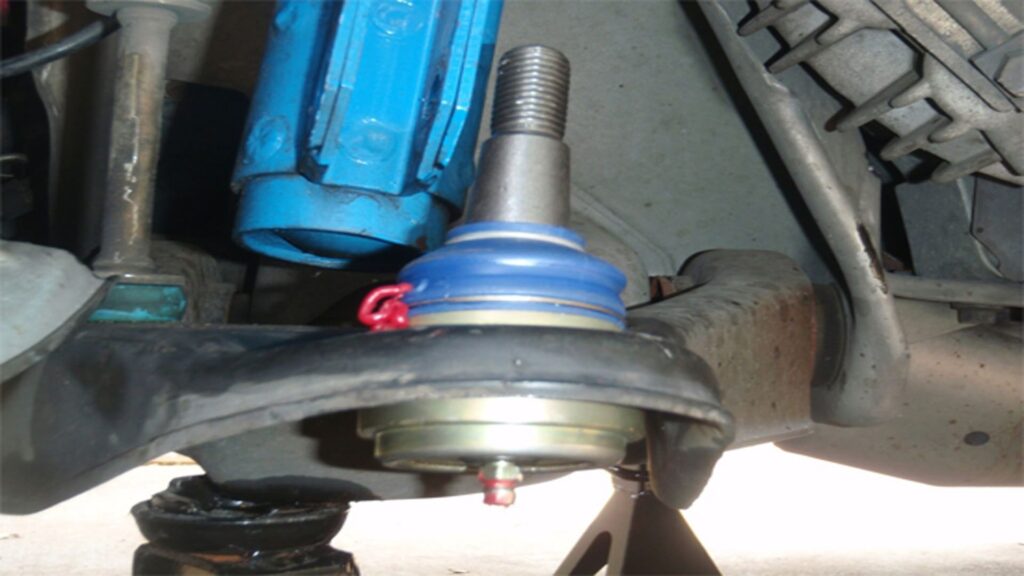
6. Install the New Ball Joint
Once the old ball joint is removed, it’s time to install the new one:
- Place the new ball joint into the control arm, ensuring it’s properly aligned.
- Use the ball joint press to press the new ball joint into place. Make sure it’s fully seated and secured.
- Check the ball joint to ensure that it’s aligned correctly and sits firmly in place.
7. Reinstall the Lower Control Arm
With the new ball joint in place, you can reinstall the control arm:
- Position the control arm back into place on the subframe.
- Use the wrench to tighten the bolts, securing the control arm in place.
- Torque the bolts to the manufacturer’s specifications.
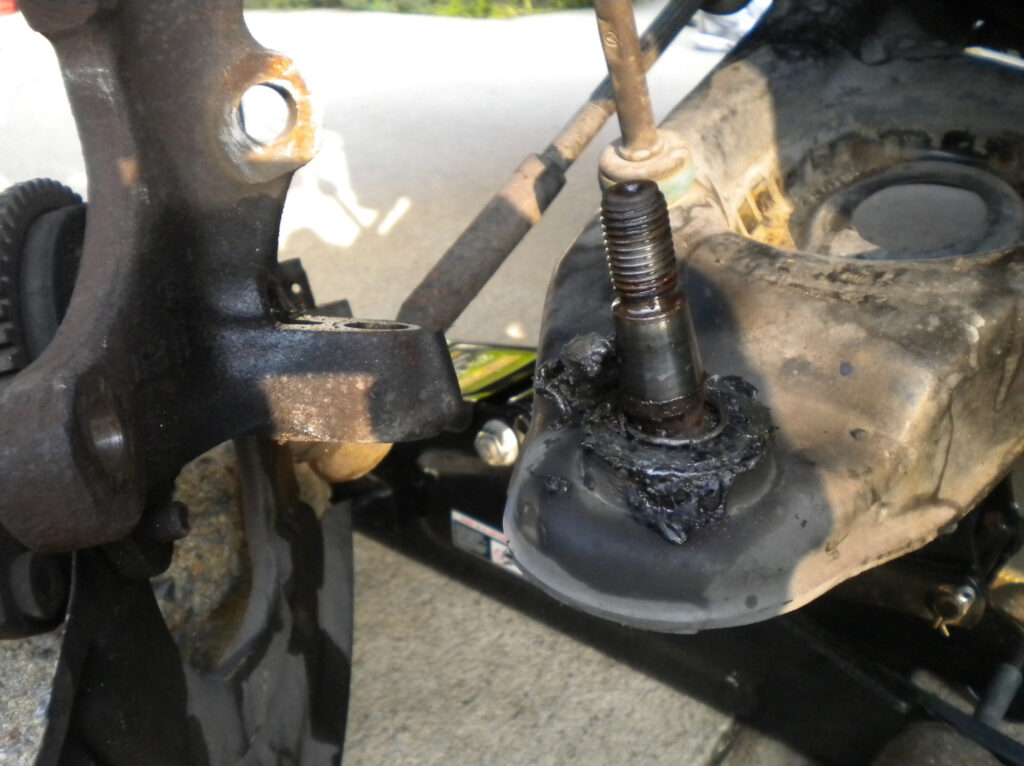
8. Reattach the Steering Knuckle
Now that the control arm is in place, reattach the steering knuckle to the ball joint:
- Align the ball joint stud with the steering knuckle.
- Insert the ball joint stud into the knuckle and tighten the nut.
- Secure the nut with a new cotter pin to ensure the ball joint is properly attached.
9. Reassemble the Brake Components
Next, reinstall the brake components:
- Place the brake rotor back onto the wheel hub assembly.
- Reattach the brake calipers.
- Ensure that all bolts are securely tightened.
10. Reinstall the Wheels and Lower the Vehicle
With the brake components in place, you can reinstall the wheels:
- Place the wheels back on the hubs.
- Tighten the lug nuts by hand.
- Use the floor jack to lower the vehicle back to the ground.
- Tighten the lug nuts with a torque wrench to the manufacturer’s specified torque settings.
Tips for a Successful Ball Joint Replacement
- Use OEM or High-Quality Aftermarket Parts: Ensure you are using quality control arms and ball joints to ensure longevity and proper performance.
- Grease the Ball Joints: Always grease the new ball joints using a grease gun before installation.
- Check the Alignment: After replacing the ball joints, it’s a good idea to have your vehicle’s alignment checked and adjusted if necessary.
- Safety First: Always wear safety gear such as gloves and goggles to protect yourself while working on the vehicle.
Frequently Asked Questions
Here are some FAQs about 2012 mustang ball joint replacement –
How can I tell if my 2012 Mustang’s ball joints need replacement?
Worn-out ball joints can produce clunking noises when driving over bumps, cause uneven tire wear, or make it difficult to steer, especially at lower speeds.
Can I replace just the ball joints, or do I need to replace the control arm too?
For the 2012 Mustang, the ball joints are integrated into the lower control arm, so you will need to replace the entire control arm if the ball joint is worn out.
How often should I grease my Mustang’s ball joints?
You should grease your ball joints every 5,000 to 10,000 miles or according to the manufacturer’s recommendation for proper lubrication.
How long does it take to replace ball joints on a 2012 Mustang?
Replacing ball joints can take anywhere from 4 to 6 hours, depending on your experience and the tools you have available.
Do I need to perform a wheel alignment after replacing the ball joints?
Yes, it is highly recommended to have a wheel alignment done after replacing the ball joints to ensure proper handling and to prevent uneven tire wear.
Conclusion
Replacing the ball joints on the 2012 Ford Mustang is a important maintenance task that should not be overlooked. By following this detailed step-by-step guide, you can perform the replacement yourself and enjoy improved handling, safety, and performance.